How to Make a Cake Topper with a 3D Printer
Custom cake toppers are a fantastic way to personalize celebrations - birthdays, weddings, anniversaries, or any special occasion. They’re surprisingly easy to create with a 3D printer and add a unique touch that store-bought decorations can’t match.
In this guide, you’ll learn the complete process of making a cake topper with a 3D printer from choosing a design to printing a finished, display-ready piece.
What You Need
Before you start, make sure you have:
- A shape, text, or image (PNG, BMP or JPG)
- A tool to convert the design into a 3D model (GenShapr)
- An FDM 3D printer
- Food-safe filament (PLA recommended)
- Slicing software (Bambu Studio, PrusaSlicer, Cura, etc.)
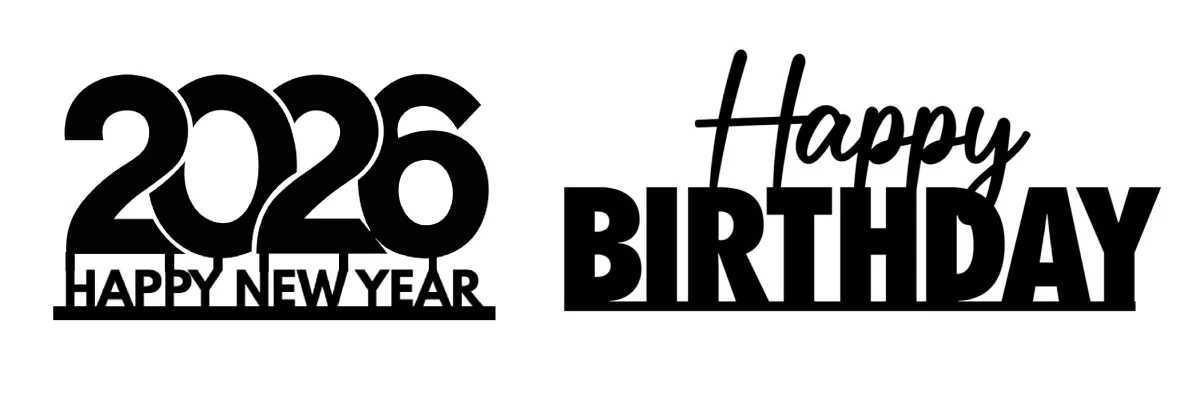
Step 1: Choose or Create a Design
Cake toppers can be text, shapes, silhouettes, or combinations. Bold, simple designs with good contrast work best.
Good design guidelines
- Clear, readable text (if using letters)
- Solid shapes on a contrasting background
- Connected elements (letters should be joined or have a base)
- Avoid very thin details that may break during printing
You can design your topper in software like Canva, find inspiration online, or generate custom text with fonts that work well for 3D printing.
Step 2: Convert the Design into a 3D Model
A cake topper is essentially:
- A flat decorative piece (your design extruded to a thickness)
- A stake or base to insert into the cake
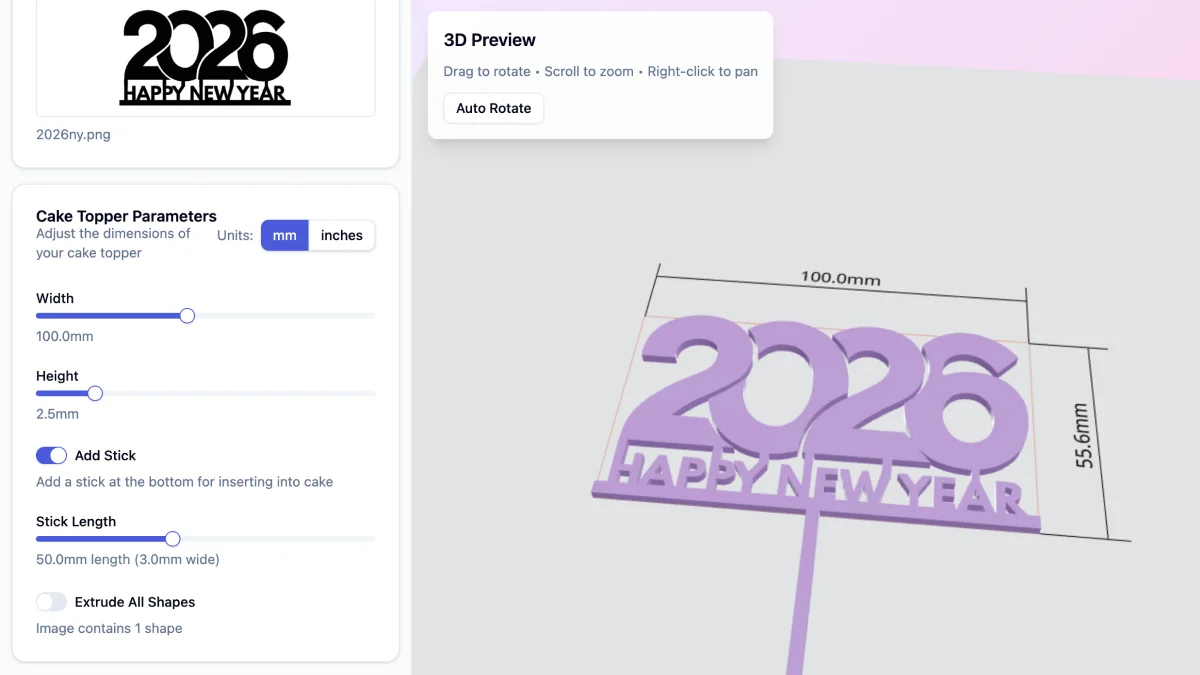
GenShapr automates this process:
- Upload your image or text
- Adjust topper height and thickness
- Add a stake for insertion
- Preview the topper in 3D
- Export a ready-to-print STL file
Step 3: Set the Correct Dimensions
Correct dimensions ensure your topper is sturdy and proportionate to your cake.
Recommended dimensions
| Parameter | Value |
|---|---|
| Topper thickness | 3 – 5 mm |
| Topper height | 80 – 150 mm (depending on cake size) |
| Stake length | 40 – 60 mm |
| Stake width | 3 – 5 mm |
Too thin, and the topper may snap. Too heavy, and it may not stay upright in the cake. Adjust based on your design complexity and cake size.
Step 4: Choose the Right Filament
For cake toppers, PLA remains the best choice for most users.
Recommended
- PLA or PLA+ (easy to print, good detail)
- Silk or metallic PLA (for elegant, shiny finishes)
- Gold, silver, or pastel colors (popular for celebrations)
Avoid
- ABS (warping and fumes)
- Very flexible filaments (won’t hold shape)
- Transparent filaments (details may not show well)
Note on food safety: The decorative part of the topper doesn’t touch the cake directly. Use a food-safe barrier (like parchment paper or a plastic wrap) around the stake if you prefer extra caution.
Step 5: Slice the Model for Printing
Use these slicer settings as a starting point:
| Setting | Value |
|---|---|
| Layer height | 0.15 – 0.2 mm |
| Infill | 100% (for thin designs) or 20-50% (for thicker ones) |
| Print orientation | Flat on the bed or vertical |
| Nozzle | 0.4 mm |
Smaller layer heights produce smoother surfaces for better visual quality.
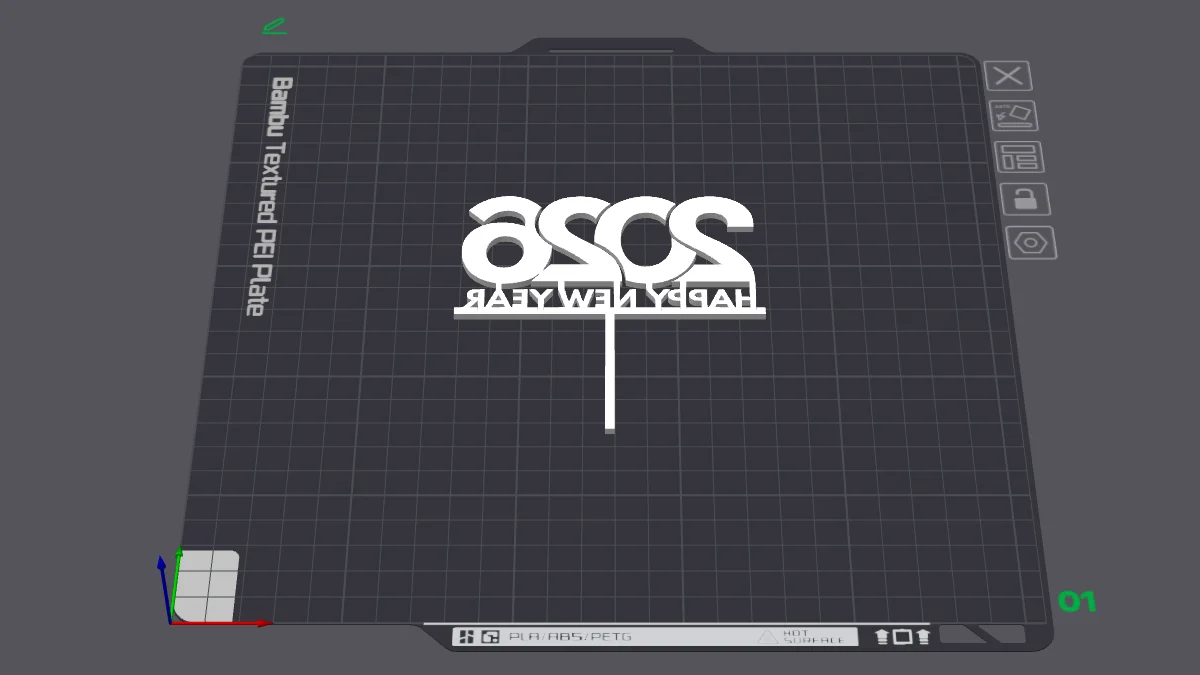
Tip: We recommend rotating the ready-to-print model 180° on the Y axis. This makes the front surface face the print bed, resulting in a smoother, better-looking finish on the visible side of your topper.
Step 6: Print and Finish
After printing:
- Remove supports carefully
- Sand any rough edges
- Optionally paint or add finishing touches (food-safe paint if contacting cake)
Take your time with post-processing — cake toppers are display pieces and benefit from a polished look.
Real Example of a 3D Printed Cake Topper
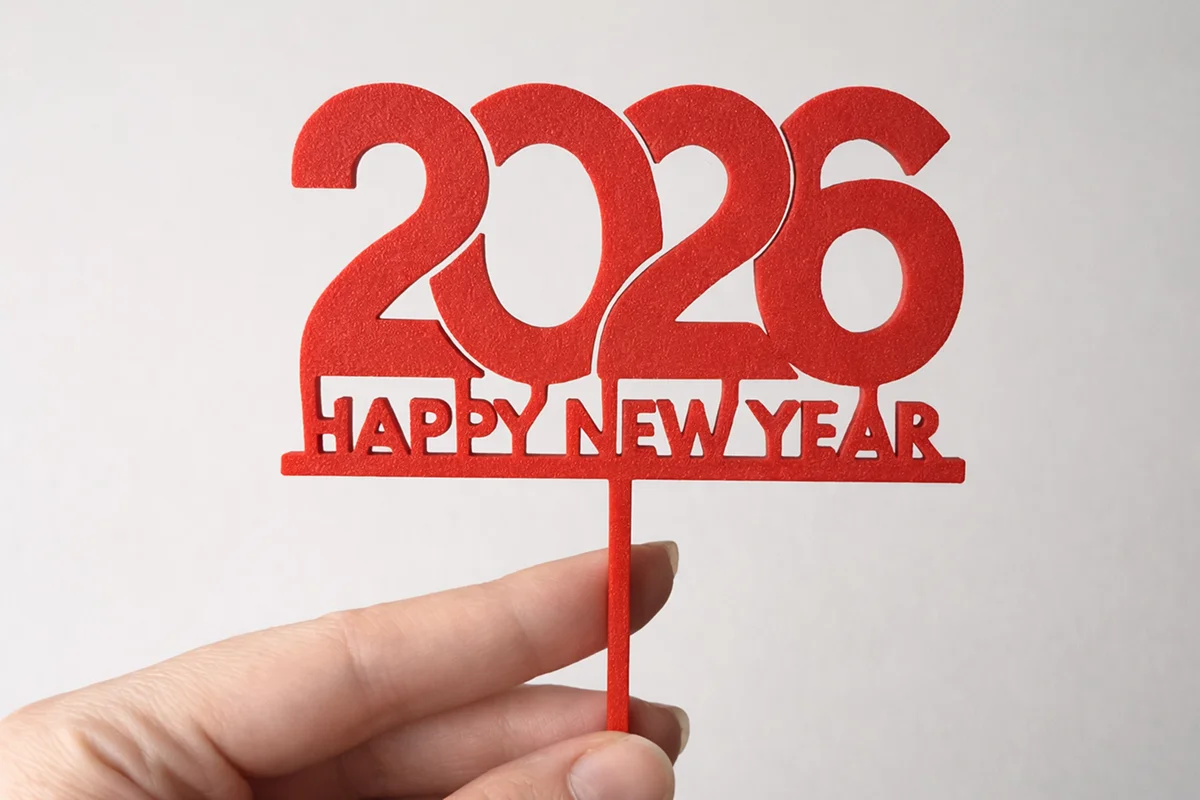
This example shows:
- Proper thickness for durability
- Clean lettering and shapes
- Integrated stake design
Common Mistakes to Avoid
- Using disconnected letters (they’ll fall apart)
- Making the design too thin or intricate
- Forgetting to add a stake
- Printing too fast (reduces surface quality)
- Choosing a color that doesn’t contrast with the cake
Why Use GenShapr for Cake Toppers?
GenShapr is built specifically for turning flat designs into ready-to-print 3D models:
- Text and image to topper conversion in seconds
- Automatic stake generation
- Live 3D preview with real dimensions
- No CAD experience required
Ready to Make Your Cake Topper?
Turn any image or text into a custom cake topper in minutes.
Start Creating